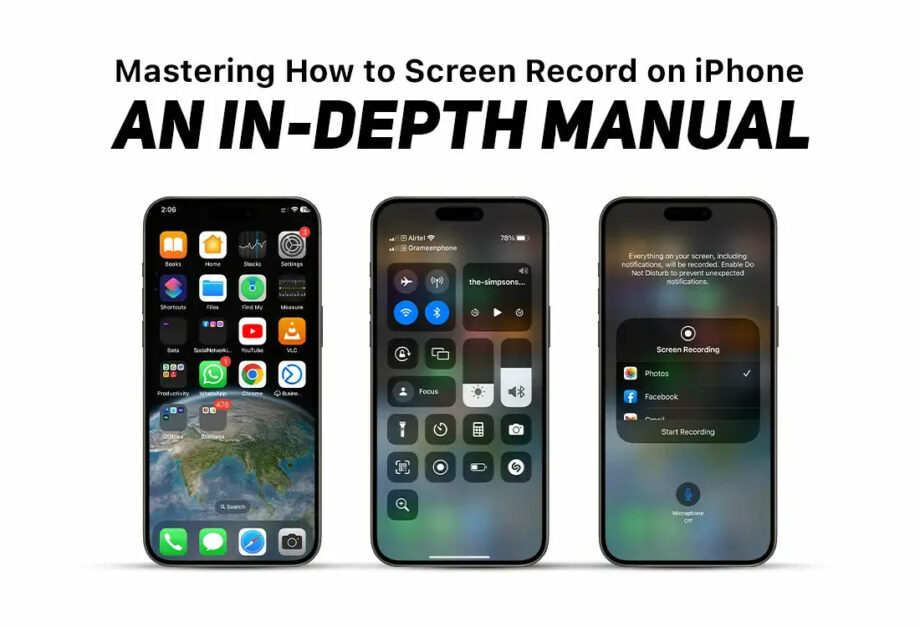
Mastering How to Screen Record on iPhone: An In-Depth Manual
Screen recording on an iPhone is an invaluable feature for anyone looking to create tutorials, capture gameplay, or document software bugs. Apple has integrated a native screen recording tool within iOS, making it more accessible and straightforward to use. This in-depth manual will guide you through setting up and using the screen recording feature on your iPhone, along with tips and best practices to make the most out of this functionality.
Setting Up Screen Recording
Before you can start capturing screen activity, you need to configure the screen recording feature in your iPhone’s Control Center.
- Open Settings: Launch the Settings app on your iPhone.
- Control Center: Navigate to Control Center, which allows you to customize which controls appear and how they are arranged.
- Customize Controls: Tap on ‘Customize Controls’.
- Add Screen Recording: Scroll down to find ‘Screen Recording’ and add it by tapping the green plus icon next to it.
Once you have added screen recording to your Control Center, accessing it is as simple as swiping up from the bottom of the screen (on an iPhone 8 or earlier) or swiping down from the top-right corner of the screen (on an iPhone X or later).
How to Screen Record
With the screen record button now accessible from the Control Center, follow these steps to record your iPhone screen:
- Access Control Center: Swipe to open the Control Center.
- Start Recording: Tap the Screen Record icon, which looks like a solid circle inside a circle. After a three-second countdown, your iPhone will start recording all activity on your screen.
- Capture Audio (Optional): If you need to capture audio along with your screen recording, deep press (or long-press for older iPhone models) the Screen Record icon and turn on the microphone.
- Stop Recording: To stop recording, open Control Center again and tap the Screen Record icon, or tap the red status bar at the top of your screen and confirm that you want to stop.
Tips and Tricks
- Do Not Disturb: Activate ‘Do Not Disturb’ mode to prevent unexpected notifications or calls during the recording.
- Orientation: Before starting your recording, decide the orientation (portrait or landscape) that best suits your video content.
- Storage Space: Ensure enough space is available on your iPhone to save the video file. Screen recordings, especially at higher-quality settings, can quickly consume storage.
- Editing: After recording, you can trim the beginning and end of your video directly from the Photos app. If you need more sophisticated editing, consider using third-party apps.
Advanced Uses
- Tutorials: Screen recordings can be excellent tools for creating tutorials or guides. Use the microphone recording feature to add explanations or directives.
- Presentations: Record your slides as you talk through them directly on your iPhone, which can be especially useful for remote education and virtual meetings.
- Gaming: Gamers can record their gameplay to share with others or to review their performance.
Privacy and Legal Issues
Always consider privacy and legal issues when recording content, especially if the recordings include activity in other apps, notifications containing personal information, or inputs on password fields. Moreover, inform and gain consent from any individuals who will have their voice or actions recorded.
Troubleshooting Common Issues
- No Sound: Ensure that the microphone audio recording is enabled if your recording requires captured audio.
- Storage Full: If you encounter issues where your recording unexpectedly stops, check your device’s storage to ensure there is enough space available.
Conclusion
Mastering the screen recording feature on your iPhone can dramatically enhance how you share and save information. Whether for personal use, education, or entertainment, understanding the ins and outs of iPhone’s screen recording tool empowers you to capture and disseminate digital content effectively. Follow this manual to harness the full potential of your iPhone’s recording capabilities, ensuring high-quality results tailored to your needs.
