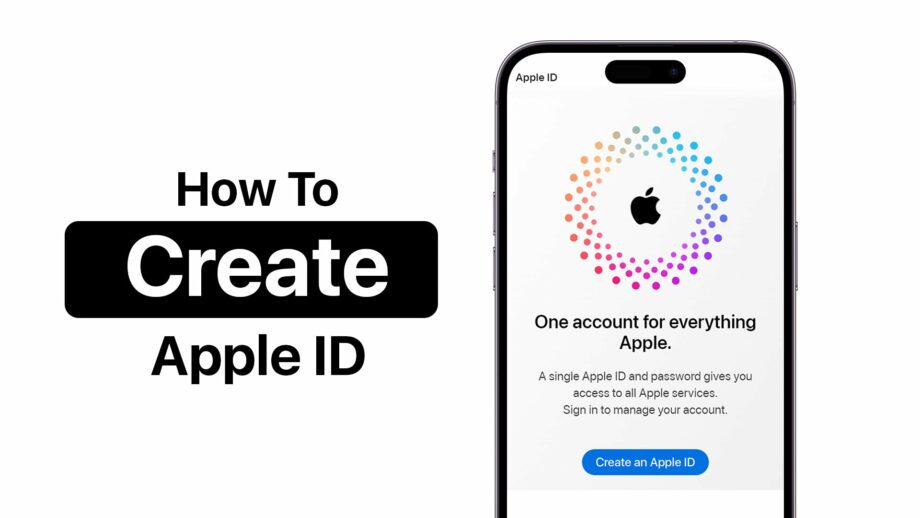
Opening an Apple ID is an essential step for accessing a wide range of Apple services, including the App Store, Apple Music, iCloud, iMessage, FaceTime, and more. An Apple ID is fundamentally your gateway to the ecosystem of Apple products and services. Whether you’re setting up a new device or just wanting to access Apple services on different devices, having an Apple ID is crucial. Here’s a guide on how to easily create an Apple ID on various devices:
How to Create an Apple ID on an iPhone, iPad, or iPod Touch
-
Open Settings: Tap on the ‘Settings’ app on your home screen.
-
Sign in to your Device: Tap ‘Sign in to your [device]’. If you’re not using iOS 11 or later, you’ll see ‘Sign in to iCloud’.
-
Create Apple ID: Tap ‘Don’t have an Apple ID or forgot it?’ then tap ‘Create Apple ID’.
-
Enter your Birth Date: Follow the onscreen steps and enter your birth date.
-
Provide Your Name: Enter your first and last name.
-
Get Started with Email: You can use your current email address or create a new iCloud email address.
-
Create a Password: Choose a password for your Apple ID. Make sure it adheres to the security recommendations.
-
Security Questions: Choose three security questions and provide answers; these will help to secure your account and recover it if needed.
-
Agree to Terms and Conditions: Read and agree to the Terms and Conditions.
- Complete Setup: Follow the onscreen instructions to complete the setup. This might include verifying your email address and adding a payment method.
How to Create an Apple ID on a Mac
-
Apple Menu: Go to the Apple menu in the top left corner of your screen and click on ‘System Preferences’.
-
Sign In: Click on ‘Sign In’ at the top right of the System Preferences window.
-
Create Apple ID: Click on ‘Create Apple ID…’, and follow the prompts.
-
Enter Details: Similar to iOS setup, enter your name, birthday, email, and password.
-
Verification: Verify your email address and phone number as part of the security measures.
- Finish Setup: Agree to the terms and complete any additional verification steps requested.
How to Create an Apple ID using a Web Browser
-
Go to the Apple ID Site: Visit the official Apple ID website (appleid.apple.com).
-
Create Your Apple ID: Click on ‘Create Your Apple ID’ at the top right-corner of the page.
-
Fill Out the Form: Provide your name, birth date, email, password, and choose your country or region.
-
Security Measures: Choose your security questions and answers, and enter a phone number for verification.
-
Verification: After submitting the form, you’ll need to verify your email address using a verification code sent to the email you provided.
- Confirmation: After verification, your Apple ID is ready to use.
Additional Tips
-
Email Address: Your email address works as your Apple ID username. It’s recommended to use an email address you frequently access.
-
Two-Factor Authentication: Enabling two-factor authentication adds an extra layer of security to your account.
-
Payment Information: While adding a payment method is optional during setup, you might need to add one later to make purchases.
- Account Recovery: Keep your security questions, rescue email, and linked phone number updated to help with account recovery.
Conclusion
Creating an Apple ID is straightforward and can be done through multiple devices or online. Each method requires basically the same information and follows similar steps. Once set up, your Apple ID is a key to unlock the full potential of your Apple devices and services, making it worth the few minutes it takes to create.
