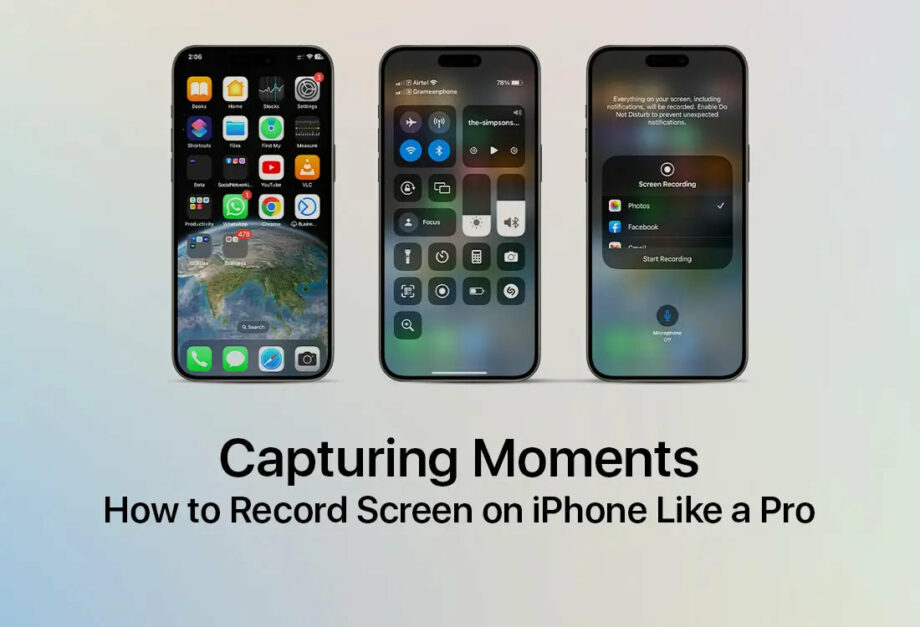
Capturing Moments: How to Record Screen on iPhone Like a Pro
In the digital age, knowing how to record your iPhone screen can be incredibly useful. Whether it’s for a tutorial, a gameplay video, or just preserving a memorable chat, screen recording is a feature on the iPhone that everyone should master. Here’s your comprehensive guide on how to record your iPhone screen like a professional, along with tips on making those recordings stand out.
Setting Up Screen Recording on Your iPhone
Before you start, ensure your device is updated to at least iOS 11, as this version introduced the native screen recording feature. Follow these steps to add the screen recording function to your Control Center:
- Open Settings: Launch the Settings app from your iPhone home screen.
- Control Center: Navigate to Control Center, which allows you to customize the available controls.
- Customize Controls: Tap on “Customize Controls.”
- Add Screen Recording: Find “Screen Recording” from the list and tap the green plus icon next to it. This will add it to your Control Center.
How to Record Your Screen
With screen recording enabled in your Control Center, you can easily start recording your iPhone screen by following these steps:
- Access Control Center:
- For iPhone X or later: Swipe down from the upper-right corner of the screen.
- For iPhone 8 or earlier: Swipe up from the bottom edge of the screen.
- Start Recording: Tap the screen recording button, which looks like a solid circle inside a thin circle. There will be a three-second countdown before the recording begins, giving you time to prepare.
- Record Your Audio (optional): If you want to include external audio or your voice, deeply press or long press the screen recording icon and tap “Microphone On.”
- Stop Recording: To stop recording, open the Control Center again and tap the red screen recording button. Alternatively, you can tap the red status bar at the top of your screen and tap “Stop.”
The video you capture will automatically be saved in the Photos app.
Tips for Professional Quality Screen Recordings
To truly master the art of screen recording, consider the following tips:
- Ensure Sufficient Storage: High-quality screen recordings can consume a significant amount of memory. Ensure you have enough storage space on your device before starting a recording session.
- Do Not Disturb Mode: Activate ‘Do Not Disturb’ mode to prevent unexpected calls or notifications during your recording.
- Clear Up Screen Space: Clean up your home screen or the app screens you plan to record; this makes your video look cleaner and more professional.
- Orientation and Brightness: Decide the orientation (portrait or landscape) before starting the recording. Also, adjust your screen brightness suitably, as very high brightness can affect the video quality.
- Editing: Use video editing apps to enhance your recordings, trim unnecessary parts, add captions, or merge multiple videos.
Advanced Applications
For those looking to advance their screen recording skills, consider using third-party apps that offer more sophisticated features like higher resolution recordings, extended recording lengths, or advanced on-screen drawing tools. Apps like TechSmith Capture or DU Recorder can be valuable.
Conclusion
Screen recording on an iPhone does not require professional skills, but mastering it like a pro involves careful preparation and awareness of the tools available. By following the above steps and tips, you can ensure that your screen recordings are not just practical but polished and professional. Whether for personal memories or professional tutorials, mastering screen recording on your iPhone is a modern-day digital skill that is invaluable.
